Building a voice Agentic Interface for a React app
With Alan AI SDK for Web, you can create a voice Agentic Interface and embed it to your React app. The Alan AI Platform provides you with all the tools and leverages the industry’s best Automatic Speech Recognition (ASR), Spoken Language Understanding (SLU) and Speech Synthesis technologies to quickly build an Agentic Interface from scratch.
In this tutorial, we will create a simple voice enabled React app. The app users will be able to click the voice Agentic Interface button and give custom voice commands, and Alan AI will reply to them.
What you will learn
How to add a voice interface to a React app
How to write simple voice commands for a React app
What you will need
To go through this tutorial, make sure Node.js is installed on your machine.
Step 1. Sign up for Alan AI Studio
First, we need to sign up for Alan AI Studio — the web IDE where we will create the dialog script for our voice agent.
Go to Alan AI Studio.
Sign up with a Google or GitHub account or with your email address.
In Alan AI Studio, click Create Project. Select to create an empty project and give it any name you want.
Step 2: Create a React app
Now let’s create a simple React app.
Step 3: Install the Alan AI Web component
We need to add the Alan AI Web component to the app. In the app folder, install the Alan AI Web component with the following command:
npm i @alan-ai/alan-sdk-web
Step 4: Add the Alan AI agentic interface to the app
Now we need to update our app to add the Alan AI agentic interface to it.
In the
srcfolder, open theApp.jsfile.At the top of the file, add the import statement for the Alan AI Web component:
React app¶import alanBtn from "@alan-ai/alan-sdk-web";
We will use the Effect Hook to add the Alan AI agentic interface to our app. At the top of the file, add the following import statement:
React app¶import React, { useEffect } from 'react';
Note
For an app that uses React Class Components, you can add the Alan AI agentic interface with
componentDidMount(). For details, see React.In the function component, call
useEffect:React app¶function App() { // Adding the Alan AI agentic interface useEffect(() => { alanBtn({ key: 'YOUR_KEY_FROM_ALAN_STUDIO_HERE', host: 'v1.alan.app', onCommand: (commandData) => { if (commandData.command === 'go:back') { // Call the client code that will react to the received command } } }); }, []); }
In the
keyfield above, we need to replaceYOUR_KEY_FROM_ALAN_STUDIO_HEREwith the Alan AI SDK key for our Alan Studio project. In Alan AI Studio, at the top of the code editor, click Integrations, copy the value provided in the Alan SDK Key field and paste this value tokey.React app¶function App() { useEffect(() => { alanBtn({ key: '28b4365114e0f2f67d43485dbc3cb44a2e956eca572e1d8b807a3e2338fdd0dc/stage', host: 'v1.alan.app', onCommand: (commandData) => { if (commandData.command === 'go:back') { // Call the client code that will react to the received command } } }); }, []); }
Step 5. Add voice commands
Let’s add some voice commands so that we can interact with our React app through voice. In Alan AI Studio, open the project and, in the code editor, add the following intents:
intent(`What is your name?`, p => {
    p.play(`It's Alan, and yours?`);
});

intent(`How are you doing?`, p => {
    p.play(`Good, thank you. What about you?`);
});
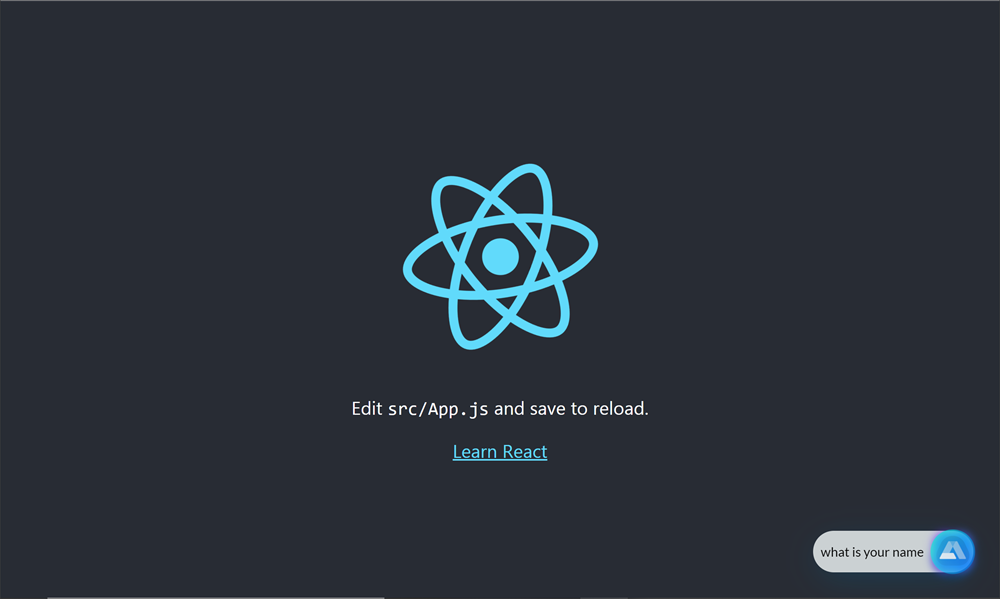
Now in the app click the Alan AI agentic interface and ask: What is your name? and How are you doing? The Agentic Interface will give responses provided in the intents.